How to Open Your Pool for Summer: A Safe Start-Up Guide
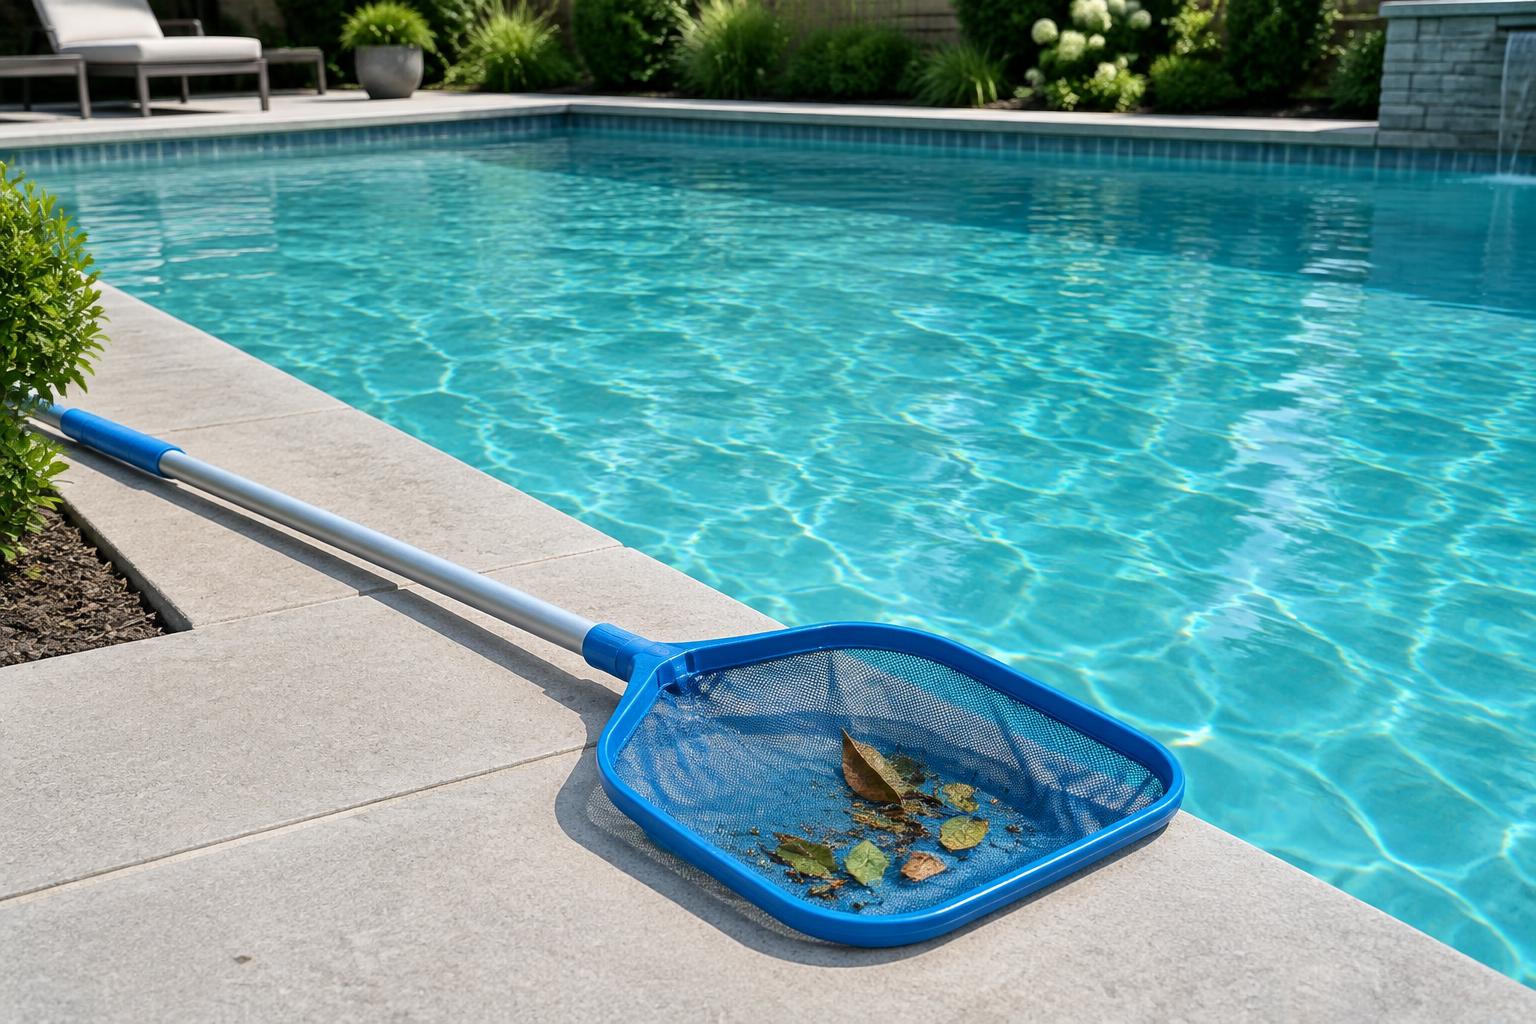
To open your pool for summer, remove and clean the cover, inspect and reconnect equipment, restore the water level, and start circulation. Then remove debris, test the water, and adjust chemistry according to product labels. Wait to swim until the water is clear, equipment works properly, and sanitizer and pH meet appropriate swimming ranges.
Before you begin: gather supplies and check conditions
Consider opening before sustained warm weather makes a covered, untreated pool harder to manage. The best timing depends on your climate, freeze risk, and whether you can maintain circulation and sanitation afterward. Opening does not mean the pool will be ready for swimming that day.
Gather a cover pump if appropriate, leaf net, pool brush, vacuum, garden hose, reliable water-testing kit, and protective equipment required by chemical labels. Have your pump, filter, heater, and sanitizer-system manuals available. Buy treatment chemicals based on test results rather than assuming every pool needs the same opening kit.
Confirm your pool volume before calculating doses. If the pool was professionally winterized and you are unsure which fittings were disconnected, consider having the same service reopen it.
Pool opening checklist: nine steps in order
-
Remove standing water and debris from the cover.
Scoop off leaves before moving the cover. For solid covers, use a suitable cover pump to remove pooled water, following the cover manufacturer's instructions. Avoid allowing dirty cover water to spill into the pool. Never walk on the cover, and keep children and pets away during removal. Automatic and safety covers may have specific removal or operating procedures.
-
Remove, clean, dry, and store the cover.
Work with another adult when handling a large cover. Clean it with a manufacturer-approved method, rinse as directed, and let it dry before storage where practical. Inspect seams, straps, anchors, and hardware for damage. Store removable covers away from sunlight, sharp objects, and pests. Retract or secure deck anchors as instructed to reduce trip hazards.
-
Inspect the pool and restore winterized components.
Check the shell or liner, coping, ladders, handrails, skimmer, and visible fittings. Look for unexplained water loss, cracks, loose hardware, or damaged suction-outlet covers. Do not use a pool with a missing or damaged suction cover; arrange professional repair.
Following equipment manuals, remove winterizing plugs and skimmer devices, reinstall appropriate return fittings and drain plugs, and reconnect disconnected plumbing. Do not drain the pool simply because it looks dirty: draining may damage liners or create structural risks under certain groundwater conditions.
-
Set the water level and inspect the equipment pad.
Restore water to the equipment manufacturer's recommended operating level, typically around the middle of the skimmer opening. With power off, inspect accessible seals, unions, baskets, and equipment housings. Check valve positions against your system's normal operating configuration.
Stop if you find cracked equipment, damaged wiring, signs of freeze damage, or an unexplained major leak. Electrical repairs and serious plumbing or structural issues need a qualified professional, not trial-and-error adjustments.
-
Prime the pump and establish circulation.
Follow the pump and filter manuals for priming, startup, and releasing trapped air. Never run the pump dry or operate it against closed valves. Keep clear of the filter lid during startup, and never loosen a clamp or open equipment while it is pressurized.
Confirm steady flow at the returns and check for leaks or persistent air bubbles. Record the filter pressure once the system is operating normally with a clean filter. Use that baseline and the manufacturer's guidance to determine when cleaning is needed.
-
Remove debris and clean the surfaces.
Skim floating debris, empty baskets, and brush walls, steps, and other surfaces with tools suitable for your pool finish. Vacuum settled material using an appropriate method for your system. Heavy debris may require several passes and more frequent basket or filter cleaning.
If vacuuming to waste is supported and appropriate, monitor the water level so the pump does not draw air. Follow local discharge rules. Avoid sending concentrated debris through equipment not designed to handle it.
-
Test before choosing chemical treatments.
Once water has circulated sufficiently for representative sampling, test pH, free chlorine or your system's sanitizer, total alkalinity, calcium hardness, and cyanuric acid where applicable. Saltwater pools also need a salt reading. Consider testing for metals if you use well water or notice staining.
Use fresh reagents or unexpired strips and follow sampling instructions. If results are unexpected or outside your kit's range, verify them before dosing. PoolPilot AI can help interpret uploaded readings or a pool photo and suggest next steps, but a photo cannot establish sanitizer levels or confirm water safety. Analyze my pool — free.
-
Balance and sanitize according to measured needs.
Follow your sanitizer system's instructions and each product label to plan adjustments. Depending on the readings, alkalinity and pH may need attention before other treatments. Add products separately, allow the specified circulation time, and retest before making further corrections.
An opening does not automatically require every chemical in a seasonal kit. An oxidizing or algae treatment may be appropriate if contamination or test results justify it. Choose any chlorine treatment with existing stabilizer and calcium levels in mind, because some products raise those levels too.
-
Keep filtering, retest, and verify swim readiness.
Continue circulation as needed for cleaning and treatment, checking baskets and filter pressure regularly. Some openings require extended filtration, but follow equipment limits and local operating restrictions. Clean or backwash the filter according to its manual rather than a fixed schedule.
Retest after the required treatment intervals. Do not judge readiness by elapsed time alone: clear-looking water may still have inadequate sanitizer, and treated water may still be unsafe if the bottom cannot be seen clearly.
Quick-reference checks before the first swim
These are starting points for a typical residential chlorine pool, not universal dosing instructions. Follow applicable local guidance and equipment requirements.
| Check | Practical opening reference |
|---|---|
| Visibility | Bottom and drain covers clearly visible; no obscuring cloudiness |
| pH | Typically 7.2–7.8 |
| Free chlorine | Commonly 1–3 ppm without stabilizer; at least 2 ppm when cyanuric acid is used; confirm the appropriate operating range for your pool |
| Stabilizer | Measure before adding more; the appropriate level depends on the sanitizer system |
| Saltwater system | Verify salt level, water-temperature limits, and actual chlorine production |
| Equipment and access | Normal circulation, secure fittings, intact suction covers, and working barriers |
Chlorine requirements depend partly on stabilizer concentration. A generic chlorine reading should not override system-specific guidance or a treatment label's re-entry restrictions.
Chemical safety matters more than speed
Always follow product labels, including protective equipment, dosing, application method, and waiting periods. Never mix chemicals together, especially chlorine products with acids or different chlorine products. Keep them in original containers, stored separately as directed, and use clean, dedicated measuring tools.
Do not assume products should be predissolved or added through a skimmer. Only use the application method specified on the label. Keep swimmers out during treatment and until all re-entry conditions are met. For suspected chemical reactions, significant damage, persistent contamination, or uncertain equipment safety, consult a qualified professional.
FAQ
How long does it take to open a pool for summer?
The physical setup may take several hours, while cleaning and water correction may take days. Debris, algae, equipment problems, and water chemistry affect timing. Use testing and visibility checks, not a promised deadline.
Do I need to shock my pool when opening it?
Not necessarily. Test first and assess the condition of the water. A suitable treatment may be needed, but routine high dosing without readings can complicate balancing. Follow the product label and verify swimming conditions afterward.
Can I open a saltwater pool the same way?
Most cleaning and inspection steps are similar. Check the generator manual for startup instructions, salt requirements, and minimum operating temperature. Cold water may limit chlorine production, so verify sanitizer with a water test rather than relying on the display.
What if I am unsure what my opening test results mean?
Record the readings, pool volume, sanitizer type, and any chemicals already added. PoolPilot AI offers three free assessments per month with no credit card required. Upload readings or a photo for guidance, then confirm treatment decisions with labels and testing. Analyze my pool — free.