Weekly Pool Maintenance Routine for Beginners: 7 Steps
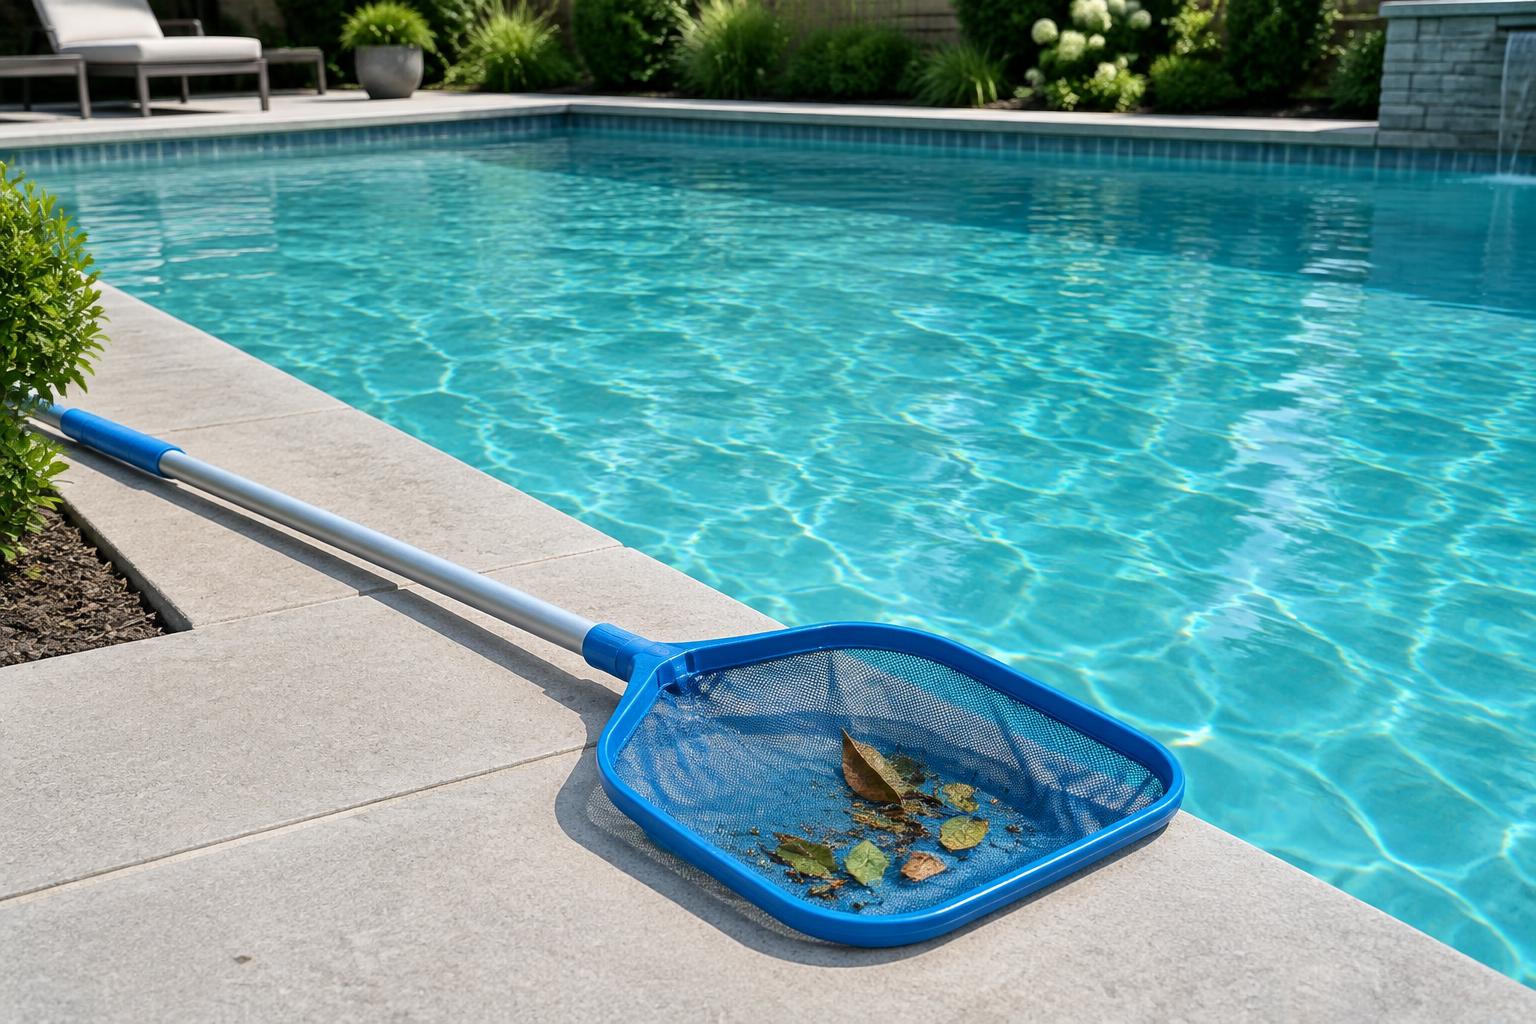
A weekly pool maintenance routine typically includes testing the water, skimming debris, brushing surfaces, vacuuming, emptying baskets, and checking the filter and pump. Adjust water chemistry using measured readings and product-label instructions. Treat this weekly session as your foundation—not your only check—because sanitizer, debris, and equipment may need attention between sessions.
What you need before you start
You do not need a shed full of equipment to establish a useful routine. Gather these basics:
- A skimmer net and telescoping pole
- A brush suitable for your pool’s finish
- A manual vacuum or compatible automatic cleaner
- A reliable test kit or fresh test strips
- Gloves and eye protection specified by chemical labels
- A notebook or phone log for readings and maintenance
Keep your pool’s approximate water volume, equipment manuals, and chemical labels accessible. Pool volume matters because dosing by appearance or guesswork may cause unsafe chemistry or damage surfaces.
Choose a consistent maintenance day. Allow extra time initially while you learn your equipment; later, the hands-on tasks may fit into a shorter session, although vacuuming and chemical circulation can take longer.
Your weekly pool maintenance checklist
Use this table as a planning guide. Conditions such as heat, storms, heavy use, and nearby trees may increase how often you need to act.
| Task | Typical schedule | What to look for |
|---|---|---|
| Test sanitizer and pH | At least twice weekly; ideally daily and before swimming | Readings within the appropriate operating range |
| Skim leaves and insects | Weekly session plus as needed | Floating debris before it sinks |
| Brush walls, steps, and corners | Weekly | Film, dirt, and overlooked surfaces |
| Vacuum or run a cleaner | Weekly or as needed | Settled debris and missed areas |
| Empty skimmer and pump baskets | Weekly; more often with heavy debris | Restricted flow or packed baskets |
| Check filter pressure and circulation | During the weekly session and quick daily checks | Changes from the clean-filter baseline |
| Check alkalinity and water level | Weekly initially | Chemistry trends and adequate skimmer flow |
| Review stabilizer and calcium hardness | Typically monthly, or after significant water changes | Suitability for the pool and sanitizer system |
A seven-step routine you can repeat
1. Inspect the pool before changing anything
Walk around the pool and check clarity, water level, visible debris, and equipment operation. You should be able to see the bottom clearly. If you cannot see the deepest area, keep swimmers out until visibility is restored and the water is verified safe.
Look for damp patches around equipment, unusual pump noise, weak return flow, or air entering the system. Many pools operate with water around the middle of the skimmer opening, but follow your pool’s guidance.
Write down anything unusual. A brief note such as “heavy rain yesterday” can help explain a change in readings.
2. Test the water and record the results
Collect the sample away from return jets and chemical feeders, following your test kit’s sampling instructions. Check free chlorine or your system’s sanitizer reading, pH, and total alkalinity. Read strips within the manufacturer’s timing window; old strips or delayed readings may mislead you.
For many residential pools, pH is typically maintained around 7.2–7.8. Chlorine targets depend on the sanitizer system, stabilizer level, and applicable guidance. Stabilized chlorine pools need a target that accounts for cyanuric acid, rather than relying on a universal number.
Total alkalinity is often managed within roughly 80–120 ppm, although the recommended range may differ by sanitizer and pool setup.
PoolPilot AI can help you review uploaded test readings or a pool photo and identify possible next steps. A photo cannot measure sanitizer or confirm swimming safety, so include readings when available: Analyze my pool — free.
3. Skim the surface and empty the skimmer basket
Remove leaves, insects, and floating debris before they settle. Work around the perimeter, paying attention to corners where wind gathers material.
Empty the skimmer basket according to your equipment instructions. A basket packed with leaves may restrict circulation and put extra strain on the system. Inspect it for cracks that could let debris pass through.
Do not reach into suction openings. Keep swimmers away while inspecting or working on equipment.
4. Brush surfaces, then remove settled debris
Brush walls, steps, benches, corners, and other areas that receive little cleaner coverage. Use a brush approved for the finish; a tool suitable for concrete may damage vinyl or fiberglass.
Next, vacuum slowly or run your compatible cleaner. Brushing loosens material, while vacuuming and filtration help remove it. You may need another pass after disturbed debris settles.
An automatic cleaner can reduce manual work, but it may miss steps, tight corners, and the waterline. Check those areas rather than assuming the cleaner handled everything.
5. Check the pump, filter, and circulation
Compare the pressure gauge with the baseline recorded when the filter was clean and operating normally. Many filters need cleaning when pressure rises about 20–25% above that baseline, but your manufacturer’s instructions take priority.
Do not backwash or clean a filter simply because it is maintenance day. Sand, cartridge, and diatomaceous earth filters have different procedures. DE filters typically require the specified replacement amount of DE after backwashing.
Before opening a pump basket or filter, switch off power, prevent automatic restarting, and relieve pressure according to the manual. Never open pressurized equipment. If you are unsure, ask a pool professional to demonstrate the process.
6. Make measured chemical adjustments
Use your test results—not water color alone—to decide whether treatment is needed. Confirm pool volume, product strength, and label directions before measuring a dose. If several readings are off, determine the treatment sequence first rather than adding everything together.
Follow product labels and never mix pool chemicals. Never combine chlorine with acid or different chlorine products. Use separate, clean measuring tools, and do not reuse containers that may hold chemical residue.
Add products only where and how the label directs. Do not pre-dissolve a product unless instructed. Keep children and pets away, wear the required protection, and allow the specified circulation time before retesting or swimming.
Shock treatment is not automatically necessary every week. Whether additional oxidation is appropriate depends on readings, contamination, usage, and product guidance.
7. Log the work and plan your next check
Record readings, products added, filter pressure, and any equipment concerns. This creates a reference for what is normal for your pool.
Retest after the label-specified circulation period. Do not assume a calculated dose produced the intended result. Only reopen the pool when water clarity and measured chemistry meet the relevant swimming requirements.
What to do between weekly sessions
A weekly cleaning session cannot replace ongoing water checks. Sunlight, swimming, and debris may change sanitizer demand quickly.
On most days, take a quick look at clarity, water level, baskets, and circulation. Test sanitizer and pH more frequently during hot weather, heavy use, or after storms. Adjust pump scheduling for your equipment, filtration needs, sanitizer distribution, and conditions—not a universal number of hours.
For persistent cloudiness, recurring sanitizer loss, significant leaks, electrical concerns, or suspected contamination, consult a qualified professional. Do not keep adding chemicals without investigating the cause.
FAQ
Can I maintain my pool only once a week?
A weekly session may cover most cleaning tasks, but water testing and quick visual checks usually need to happen more often. Sanitizer can fall between maintenance days, particularly with strong sun or frequent swimming.
Should I test the water before or after cleaning?
Test before adding chemicals so you have a useful starting point. Skimming first is fine. After treatment, retest following the product’s circulation instructions rather than sampling immediately beside a return jet.
Do I need to add chemicals every week?
Not necessarily. Add chemicals when measured conditions and product instructions indicate a need. Automatic chlorinators and salt systems also require monitoring; automation does not confirm that sanitizer levels are adequate.
Can an AI assessment help me learn pool care?
PoolPilot AI accepts pool photos or test readings and provides an AI-powered assessment with suggested next steps. It offers three free assessments per month, with no credit card required. Use it alongside testing, labels, and professional advice when needed: Analyze my pool — free.